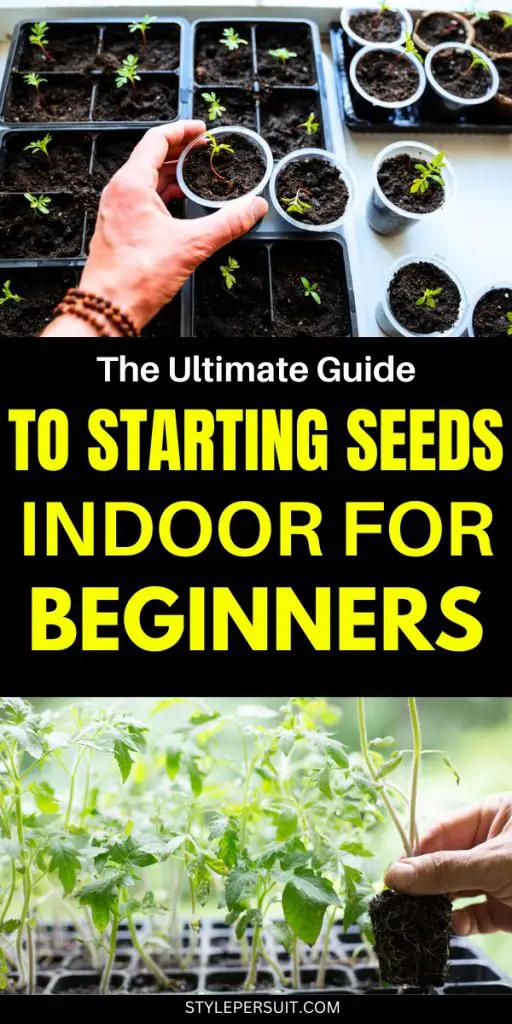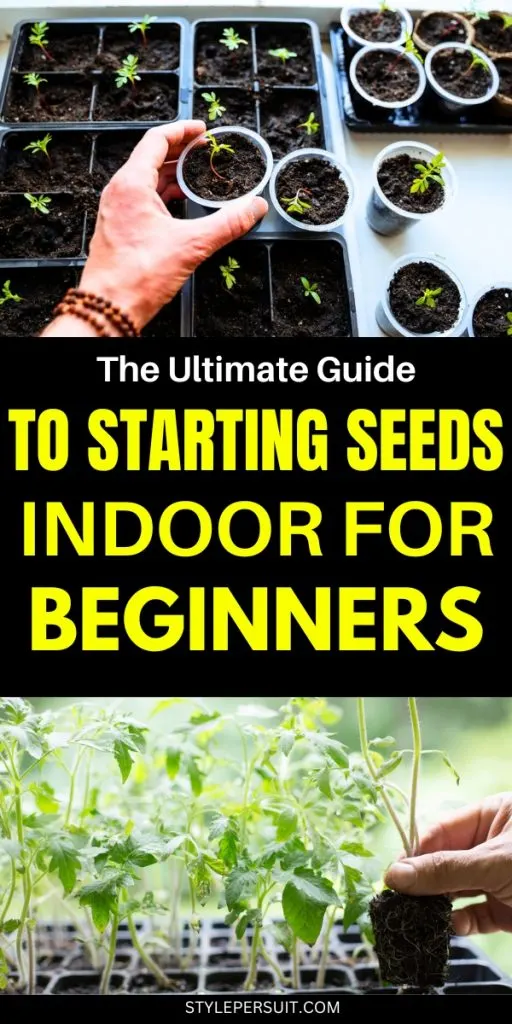
Gardening is a rewarding and cost-effective way to grow a variety of vegetables, herbs, and flowers. While purchasing nursery-grown plants can be expensive, starting your garden from seeds is a budget-friendly alternative that offers greater variety and control over plant health.
Understanding when, how, and where to start seeds indoors can make all the difference in growing strong, healthy plants that thrive once transplanted outdoors.
This comprehensive guide walks you through everything you need to know about starting seeds indoors, from choosing containers to transplanting seedlings.
When to Start Seeds Indoors
Each plant species has an optimal time for indoor seed starting. Seed packets provide specific guidance, often including instructions like “start indoors eight weeks before the last expected frost date.” To determine when to begin:
- Find your last frost date – A simple online search for your location’s USDA hardiness zone will provide this information.
- Count backward – If a seed packet recommends starting seeds indoors six to eight weeks before the last frost, count back from your last frost date.
- Consider the plant type – Some plants, such as tomatoes and peppers, require an early start indoors, while fast-growing crops like cucumbers, zucchini, and sunflowers often do better when sown directly in the garden.
Plants That Should Be Started Indoors
- Tomatoes
- Peppers
- Eggplants
- Broccoli
- Cauliflower
- Cabbage
- Many herbs (e.g., basil, oregano)
Plants Best Directly Sown Outdoors
- Root vegetables (carrots, radishes, beets)
- Beans
- Corn
- Cucumbers and zucchini (optional—can be started indoors but germinate quickly outdoors)
Reading a Seed Packet: Essential Information
A seed packet contains valuable details that guide your planting process:
- Planting Time – Specifies if seeds should be started indoors or directly sown in the garden.
- Days to Maturity – Estimates how long until the plant produces fruit or flowers.
- Light and Water Needs – Indicates whether seeds need direct light or darkness to germinate.
- Soil Requirements – Suggests the best growing medium, often a fine-grained, well-draining seed-starting mix.
- Germination Temperature – Provides optimal soil temperature for successful germination (e.g., peppers need 70–80°F soil temperature).
Before You Begin: Choosing Materials
Essential Equipment & Tools
- Marker – For labeling plant varieties.
- Grow Lights – Helps seedlings grow strong and healthy in low-light environments.
- Heat Mat (optional) – Maintains optimal soil temperature for germination.
Essential Materials
- Seeds – Choose high-quality seeds from a reliable source.
- Containers – Seed trays, peat pots, egg cartons, or small plastic containers with drainage holes.
- Seed-Starting Mix – A lightweight, sterile, and well-draining medium that promotes healthy root development.
- Labels – To keep track of different plant varieties.
- Plastic Covers or Bags – Helps retain moisture and warmth.
Step-by-Step Guide to Starting Seeds Indoors
1. Prepare the Growing Medium
- Moisten the seed-starting mix before placing it in containers. It should be damp but not overly wet, similar to a wrung-out sponge.
- Fill seed trays or containers about two-thirds full, tapping gently to settle the mix.
- Avoid compacting the soil too tightly; it should remain aerated for root growth.
2. Plant the Seeds
- Follow the depth instructions on the seed packet. If unavailable, plant seeds at a depth roughly 2–3 times their diameter.
- Some seeds require light to germinate and should be barely covered with soil, while others need darkness.
- Space seeds according to packet guidelines to prevent overcrowding.
3. Label Your Seeds
- Use popsicle sticks, plastic markers, or tape to mark plant varieties.
- Include the plant name and date of sowing.
4. Provide Proper Temperature & Humidity
- Cover trays with plastic lids or plastic wrap to maintain humidity.
- Keep containers in a warm location (65–75°F for most seeds).
- Use a heat mat if necessary to maintain the optimal soil temperature.
- Check daily for moisture—keep the soil evenly moist but not waterlogged.
5. Monitor Growth & Provide Light
- Remove plastic coverings once seedlings emerge.
- Move trays to a bright window or use grow lights for 12–16 hours daily.
- Position lights 2–3 inches above the seedlings, adjusting as they grow.
6. Watering & Feeding
- Water seedlings from the bottom by placing trays in a shallow dish of water, allowing the soil to absorb moisture.
- Start fertilizing once true leaves appear using a diluted, water-soluble fertilizer (1/4 strength initially, increasing gradually).
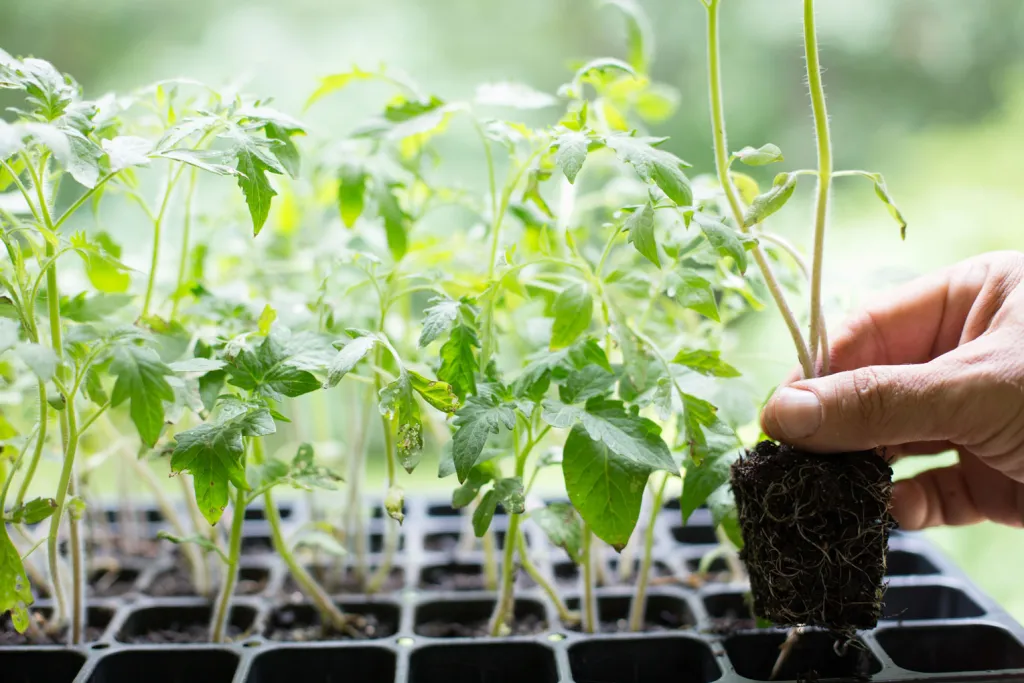
7. Hardening Off: Preparing for Outdoor Transplanting
About 7–10 days before transplanting, begin acclimating seedlings to outdoor conditions:
- Place them outside in a sheltered, shaded area for 1–2 hours a day.
- Gradually increase sun exposure and time outdoors over a week.
- Avoid transplanting during extreme weather (cold snaps or heatwaves).
Final Thoughts: Enjoying Your Garden
By following these steps, you’ll grow strong and healthy seedlings ready for a successful transition to your garden. With patience and the right care, your plants will reward you with beautiful blooms and bountiful harvests. Happy gardening!